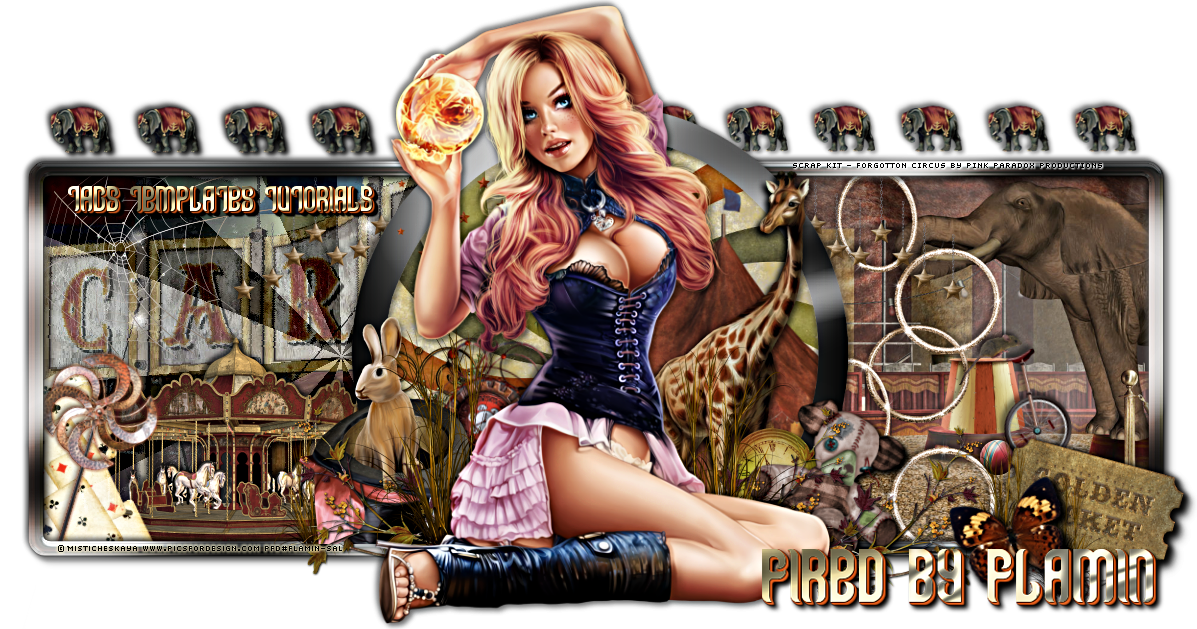
Bringing Sexy Back was written by Myself on 31st May 2013. It is my own idea and creation. Any similarity to any other tag or tutorial is co incidental.
Supplies Needed
Tube of choice. I have used the stunning artwork of Diana Gali - available from SATC HERE
Fantastic Ftu Scrap kit is ' Let's Try' by Gimptastic Scraps HERE
Template 42 by Me HERE
Mask Wsl-180 by Chelle HERE
Filters Used.
Xero - Radiance
PhotoEffex - Scanlines
EyeCandy - Chrome and Shadow
Open template, duplicate and close original. Delete credits.
In layer palette select Blue rectangle. Float and c/paste paper 1 - re sized to 105%. De float, invert the selection and hit delete. Select none and delete original temp layer.
Back in layer palette merge blue rectangle 1 and 2. Float and c/paste paper 4. De float, invert and delete. Select none and delete temp layer.
Layer palette - Merge pink rectangle 1 and 2. Float, C/paste paper 2. De float, invert and delete. select none and apply EyeCandy - Chrome see settings below.
Layer palette - Merge Grey rectangle 1 and 2. Float, c/paste paper 1. De float invert and delete. Select none and delete temp layer.
Thin Grey rectangle - Apply chrome with settings as before changing colour from zebra to silver then apply Photoeffex - Scanlines on default settings. Drop shadow.
Purple Circle- Same float and fill method as used on previous layers. I used paper paper 7. D/shadow.
Pink Octo - Float - C/paste paper 2. De float, invert and delete. Still floated c/paste a close up of your tube and position as desired below the selection. Hit delete again on the tube layer. Select none. Apply Xero - Radiance to your tube and change blend mode to Luminance legacy. Still on tube layer take your freehand selection tool and draw around the outline of lips as neatly as possible. you may find it easier if you zoom in. Once the lips are floated go to selections menu and promote selection to layer. Select none, change blend mode to hard light and reduce opacity to your liking . Mine is at 80. Repeat process for pupils of eyes. Keeping opacity at 100.
Octo Frame and Stars - Apply Chrome - settings as before - silver. Apply shadow.
Word art 1. Float Apply Outer bevel. Settings below. De float.
Word art 2. Float. C/Paste paper 7. De float, invert and delete. Select none and delete temp layer. Float the new layer and again apply outer bevel. Select none. Merge down with white layer and shadow.
Word art 3. Adjust color balance - manual color correction- change from blue to colour of choice. I used red from paper used for word art 2.
C/paste your main tube. Position to left of canvas . Duplicate. Drop shadow the original - bottom copy and working on the top copy - adjust gaussian blur by 3 and change blend mode to soft light.
Now work desired elements from kit around tube and template layers and drop shadow to your liking. I used ....
Swirl - 50%. Position top right of canvas. Duplicate and mirror copy to left.
Heart - 50%. Position top right of rectangle. Duplicate, mirror copy to left.
Bullet - Bottom left of canvas.
Chain - 50%. Bottom left above Bullet layer.
Dice - 60%. Bottom left above chain layer.
Flower 2 - 60% - Rotate right by 12. Above and to the right of Dice.
Nail Polish - 60%. Bottom right of Canvas.
Handcuffs - 60 %. Flip and rotate left by 35. Position right of canvas above nail polish. Use selection tool or eraser to remove part of cuff so that it appears to be hooked over thin rectangle.
Choker. Rotate left by 6. Bottom right above nail polish, behind stars/ word art.
Doodle 1 - 90% - Rotate left by 90. Bottom of canvas. Above choker, behind word art. I darkened colour slightly using manual color correction.
Sparkles. Centre of canvas. Above close up. Behind main tube.
Mask layer. C/paste paper of choice from kit. I used paper 6, re sized to 115%. Move to bottom of layer palette and load mask from disk - fit to layer. In layer palette, delete mask and merge group. Use raster deform to stretch and position to your liking.
Merge visible and Crop/re size and sharpen to your liking. Add name and relevant artist copyright and tube licence info. Save as Png...
Hope you have enjoyed this tutorial and your happy with the results.
Sal :)


No comments:
Post a Comment