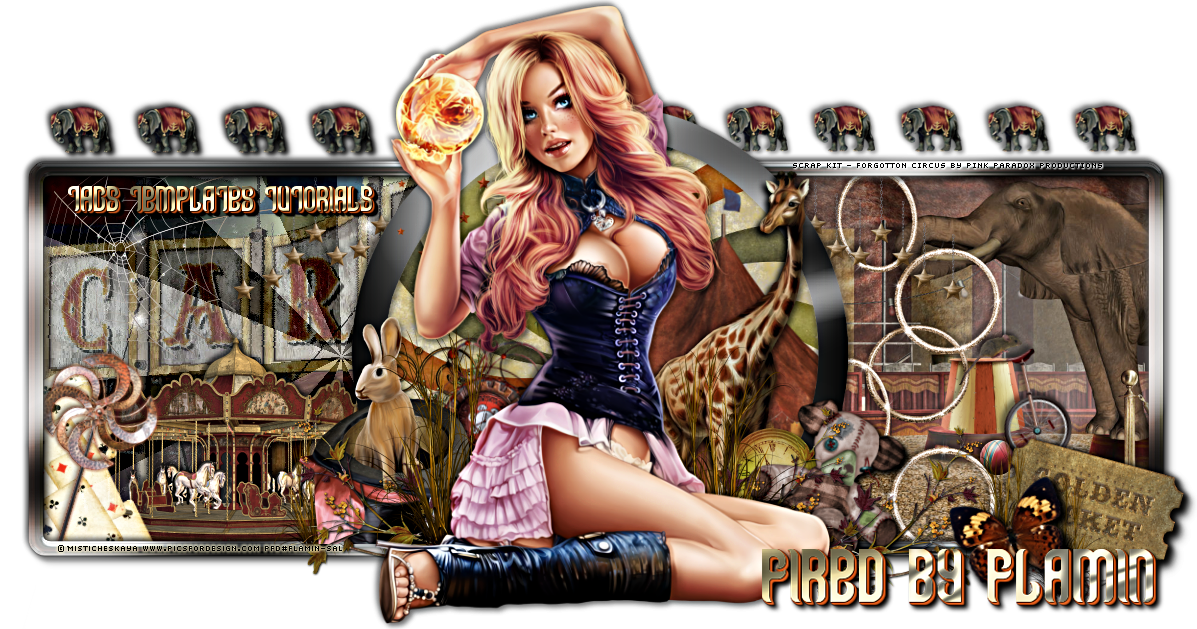
Private Dancer was written by Myself on 3rd June 2013. It is my own idea and creation. Any similarity to any other tag or tutorial is co incidental.
Supplies Needed
Tube of choice. I have used the Gorgeous artwork of VeryMany. This tube is at SATC HERE
Fab FTU Scrap kit 'Guitar Star' by Addictive Pleasures HERE
Template 41 by Me HERE
Mask of choice. The one I used is my own. HERE If you would like it.
Filters Used
Tramages - Mo Jellyfish
Xero - Radiance
PhotoEffex - Scanlines
EyeCandy - Chrome and Shadowlab
Open template, duplicate and close original. Delete credits.
In layer palette - Blue Rectangle. Selections - float. C/paste paper 11 from kit as a new layer. De float - Invert the selection and hit delete. Select none and delete original temp layer. Apply Mo jellyfish with settings below. D /shadow.
Layer palette - Merge thin rectangle 1 and 2. Float, C/paste paper 12. De float - invert and delete. Select none and delete original temp layer. D/shadow.
Layer palette - Merge purple square 1 and 2. Float, add new raster and flood fill with a 2 colour linear gradient. Angle 45 - Repeats 2. I used colours - #b79f4f and #050505. Select none and delete original temp layer. Apply PhotoEffex - Scanlines on default settings with vertical checked. Now apply Xero - radiance. Settings I used below. D/shadow.
Layer Palette - Lined Rectangle. Float, C/paste paper 10. De float, invert and delete. Select none. Delete temp layer and D/shadow.
Layer Palette - Purple Rectangle. Float, add new raster layer and flood fill with same gradient but changing repeats to 1. Select none, delete temp layer. Again apply Scanlines on default, un check vertical so that our lines are horizontal.
Layer Palette - Inner Rectangle. Fill with gradient as instructions for previous layer. Whilst rectangle is floated C/paste a close up of your tube. Shadow and apply Xero - Radiance to suit your tube. Position as desired below the floating selection and invert and delete. Select none. Change blend mode on tube to Luminance legacy. Apply Scanlines and merge tube layer down with the inner rectangle layer. Duplicate this merged layer and float the top copy. Selections - Modify - Contract by 10. Invert and hit delete. Change the blend mode of the bottom copy to Multiply.
Stars - Apply EyeCandy - Chrome - Outdoor. Add Shadow.
C/paste your tube and position to left of canvas. D/shadow. Now work desired elements from kit around tube and template layers and d/shadow to your liking. I used ....
Microphone - Paste behind tube. Use eraser to remove top that exceeds top of tube.
Fan - Re size 50 %. Position top left of tag between large rectangle and thin rectangle.
Light Ray - Re size 75%. Flip and position behind Microphone.
Wire - Re size 50 %. Use manual color correction to Darken colour. Paste top of tag above rectangle layer. Duplicate and flip copy to bottom.
Chain - 75%. Position to right of tag. Using magic wand tool click in centre of each hollow star to float. Modify - Expand by 2. Add new raster layer and flood fill the selection with black. Select none and move new layer below chain element.
Ribbon - Re size 50 %. bottom left of tag. Duplicate and mirror copy to right.
Music Notes 2 - Re size 50%. Towards bottom of tag, behind stars layer.
Glitter - Re size 50%. Bottom left behind ribbon. Duplicate, mirror copy to right.
Private word art - Float - modify - expand by 2. Add new layer. Flood fill with gold colour. Select none. Move below original layer. Merge down. Duplicate and re size copy to 80 %, opacity at 70. Duplicate this copy and re size again 80%. Opacity 50%.
Dancer word art - Float - C/paste paper 7. De float, invert and delete. Select none, delete original layer. Apply Mo Jellyfish with settings used earlier. Float - modify - expand by 2. Add new layer. flood fill the selection with black. Select none. Move below gold layer and merge both layers. Shadow. I duplicate and moved copy to left of canvas behind elements and reduced opacity.
Mask layer. C/paste a paper from kit. I used paper 10 re sized at 95%. Load mask from disk - fit to layer. in layer palette - delete mask and merge group. Use raster deform tool to stretch and position then duplicate layer to strengthen opacity to your liking.
Merge visible. Crop/re size and sharpen to your liking. Add name and relevant copyright and licence info Save as Png.
Thank you for stopping by and trying this tutorial. I hope you are pleased with the results.
Sal :)


No comments:
Post a Comment