
Boo - Ti - Ful was written by Myself on 21st October 2013. It is my own idea and creation. Any similarity to any other tag or tutorial is co incidental.
Supplies Needed
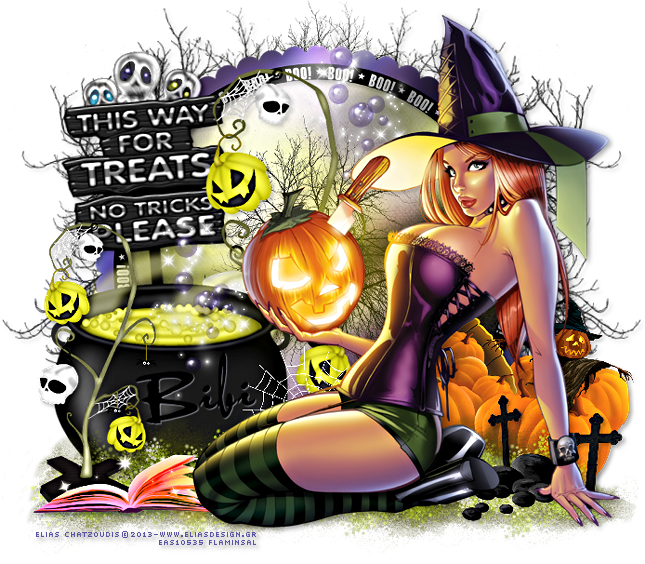
Tube. I have used the brilliant artwork of Elias Chatzoudis
Fabulous ftu scrap kit is by Bibi. It is part of the blog train 'Bootiful Night' and is available to download from her blog Bibi's Collection
Remember to please leave a thank you when downloading :)
Font used is Thufap
Open a new image 700 x 700.
C/paste element 2 - Frame. Re size to 70%. Take magic wand tool and click in centre to float. Selections - Modify - Expand by 3.
C/paste paper 8 as a new layer. Selections - Invert - Delete.
Select none, move paper layer below Frame.
D/shadow Frame and merge down.
Apply Tramages - Mo Jellyfish. ( settings I used below )

C/paste your tube and position to the right side of the canvas. D/shadow.
To the left of your canvas, behind Frame c/paste element 58 Tree. Re size to 85% and rotate left by 6. Position so that it is visible above the top of the Frame. Duplicate to strengthen and merge down. Duplicate again and mirror your copy to the right.
C/paste the element again. This time re size to 50%. Position again behind the frame at the top of canvas where there is a gap between left and right copy of Tree.
Duplicate this copy and move above frame in the centre of canvas behind tube layer.
At the bottom left of canvas C/paste element 42 Cauldron. Re size to 95%. Position behind tube layer and d/shadow.
Bottom of canvas again. C/paste element 54 - Green Sparkle and re size to 30%. Position centrally then duplicate twice. Move 1 copy to left the other to the right to create a line. Merge the 3 layers and position behind your tube, above Cauldron.
Continue by adding elements of choice from kit and d/shadow to your liking.
I used ....
66 Signpost - 90% - Rotate left by 4 degrees. Position to the left side of Frame behind Cauldron. Duplicate, change blend mode of top copy to multiply and merge down.
16 Devil / Balloons - 35% - rotate to right by 5 degrees. Place top left behind Signpost. Using eraser tool, remove the Devil so that the cute little balloon faces appear as though there peering just over the Sign. Duplicate, change blend mode of top copy to multiply and merge down. Reduce opacity to 80.
44 Pumpkin Tree - 80%. Position centre of canvas, behind tube layer above Signpost. Duplicate, re size copy to 70% and move to bottom left above Cauldron and Green Sparkle.
61 Book - 60%. Bottom left above Pumpkin Tree, behind tube layer. Duplicate, change blend mode of top copy to multiply and merge down.
47 Cobweb - 30%. Above Cauldron, to left of and behind tube.
10 Pumpkins - 45% - Mirror Image. Bottom right behind Green Sparkle layer. Duplicate, change blend mode to screen on top copy. merge down.
12 Scarecrow - 25% - Mirror Image. Bottom right. Above Pumpkins, behind tube.
35 Crosses - 20%. Bottom Right above Green Sparkle, behind tube.
36 Stones - 35% Bottom right above Crosses, behind tube.
39 Bubbles - 35%. Top of canvas, above Frame behind Pumpkin Tree. Duplicate and move copy to left of tag above the Cauldron.
Merge all layers. Crop/re size to your liking. I usually sharpen at this point rather than each separate element as I go along. Adjust - Sharpness - Unsharp Mask 5.0 - 30 -5.
Add name and relevant artist copyright and tube licence info.
Save as Png.
Thank you for stopping by and trying this tutorial. I hope you are pleased with your tag.
Sal :)

No comments:
Post a Comment