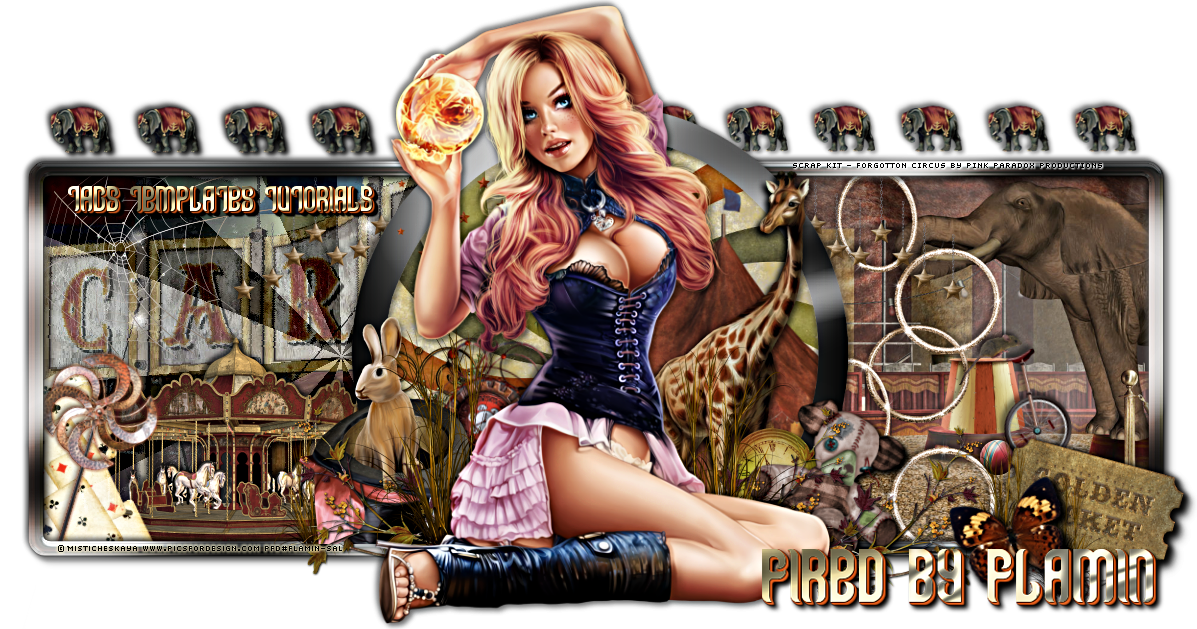
This tutorial was written by myself. This tag is my own idea and creation.
Any similarity to any other tutorial or tag is co incidental.
Please read my tutorial basics (located top left sidebar) before you begin.
Supplies Needed
Ftu scrap kit - Memory Maker by MizTeeque Here
Tube. I have used Cute Photographer 3 from VeryMany Here
Filters Used
Eyecandy - Chrome
Tramages - Mo Jellyfish
Open template, shift D to duplicate. Close original.
Delete credits, layer 4 and word art layers.
Go to layer palette...
Layer 1. Selections - Select all - Float. Copy/paste paper of choice. I used paper 9 resized to 50%. Selections - Invert - Delete. Select none and delete template layer. D/shadow. Repeat for Layer 7.
Layer 2. Selections - Select all - Float. Copy/paste paper of choice. I used paper 10 resized to 70%. Selections - Invert - Delete. Select none and delete template layer. Apply Tramages - Mo Jellyfish . Tile -100 Offset -173 Shading-132. D/shadow.
Layer 3. Selections - Select all - Float. Copy/paste paper of choice. I used paper 3 resized to 50%. Selections - Invert - Delete. Select none and delete template layer. Apply Mo Jellyfish, settings as before. D/shadow. Duplicate layer and change blend mode of top copy to screen.
Layer 5. Selections - Select all - Float. C/paste a close up of your tube and position to your liking. Selections - Invert - Delete. Select None.Working on Close up, go to Effects - Photo Effects - Sepia Toning - Amount to age - 75.
Layer 6. Apply EyeCandy - Chrome. Settings below. D/shadow.
Layer 7. See Layer 1.
Layer 8. From kit choose 4 of the word art elements and resize to 25%. Place them over each of the 4 boxes on the temp layer. To help with positioning so that they are all vertically straight, line the left edge of each word art against the right edge of layer 7.
Merge all 4 layers and D/shadow. Go back to original temp layer and change the blend mode of the boxes to Screen.
Now C/paste, position and d/shadow your tube.
Continue by adding desired elements from kit to your tag. D/shadow as you go.
I used....
2 Camera. Resized to 40%. Bottom left of image behind tube layer.
4 Paper Flower. Resized to 50%. Centre of image, above layer 3. Behind close up.
25 Leaves. Resized to 50%. Apply Sepia toning that we used on the close up layer. Position bottom right of image behind tube layer. Duplicate and mirror copy to left. Merge down. D/shadow. Duplicate again and change blend mode of top copy to hard light.
8 Paper butterfly. Resized to 20%. Rotate left 21. Top left of tag above frame.
Mask layer. Paste paper of choice. I used paper 6. Resize to 80%. Load mask from disk. In layer palette delete mask and merge group. Duplicate mask layer and image - mirror. Merge layer down.
Open raster deform tool...(Its the pick tool in the version of Paintshop I use) Use raster deform tool to position and reduce the height and width of mask until your happy with how it looks.
Delete background layer of template.
Merge all layers. Crop to your liking. I usually sharpen at this point rather than each separate element as I go along. Adjust - Sharpness - Unsharp Mask 5.0 - 30 -5.
Add name and relevant artist copyright and tube licence info.
Save as Png.
Thank you for stopping by and trying this tutorial. I hope you are pleased with your tag. Sal xoxo
Add name and relevant artist copyright and tube licence info.
Save as Png.
Thank you for stopping by and trying this tutorial. I hope you are pleased with your tag. Sal xoxo


No comments:
Post a Comment